The Pegasus Opera 3 system is feature-rich and makes it easy to connect your financials with the other areas of your business.
With so much functionality, it can be easy to miss some. Not only that, when you regularly use a system, sometimes you miss little hints and tips that can make using your system that bit quicker.
We asked our Senior Software Support Specialist, Louise, for some of her favourite Pegasus Opera 3 hints and tips.
9 Tip Pegasus Opera 3 Tips
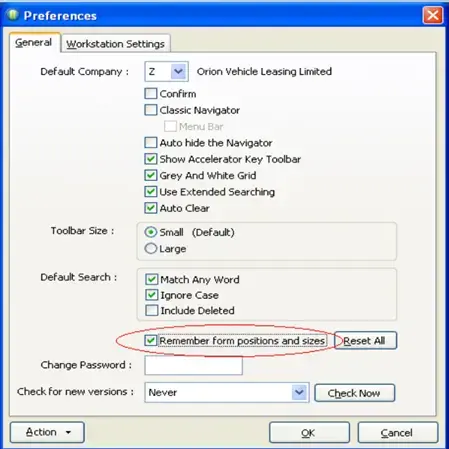
Pegasus Opera 3 Tip 1: Saving Form Positions and Sizes
- All forms can be resized and repositioned to your liking
- Simply tick ‘Remember Form Positions and Sizes in System > Preferences
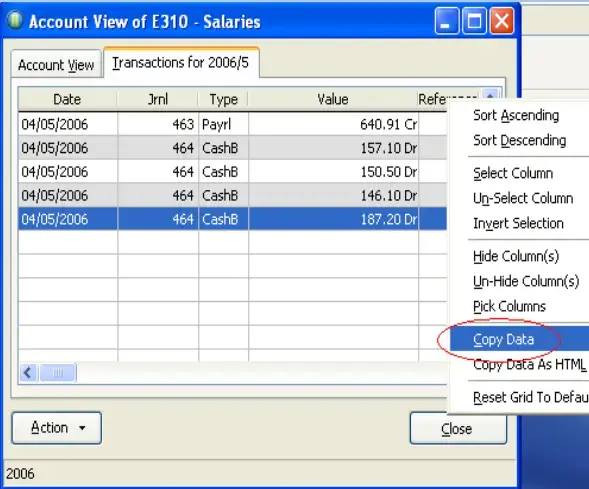
Pegasus Opera 3 Tip 2: Copying Form Data to Excel
- Open any Opera grid form
- Right click any column heading and select ‘Copy Data’
- Paste to excel
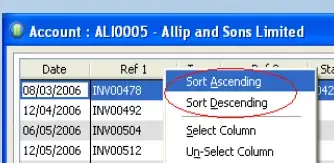
Pegasus Opera 3 Tip 3: Sorting and Moving Form Columns
- Open any Opera grid form
- Right click any column heading and select ‘Sort Ascending’ or ‘Sort Descending’
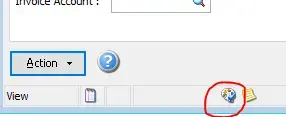
Pegasus Opera 3 Tip 4: Linking Pictures and/or Documents to Records
- In your Processing form, click Action – OLE
- Add a new link by clicking ‘New’
- Browse and add your document and/or Picture
Note – an icon appears in the status of the record processing form to show that an object exists
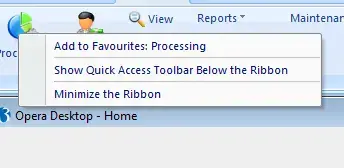
Pegasus Opera 3 Tip 5: Favourites
- Go to the Menu item you wish to make a Favourite
- Right click, and select ‘Add to Favourites’
- Choose a Group Name for your Favourites
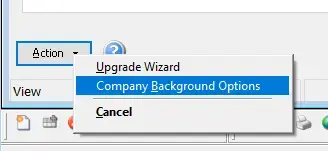
Pegasus Opera 3 Tip 6: Company Backgrounds
- System Maintenance>Company Profiles > Action > Company Background Options
- Use the ‘…’ button to browse graphic files and select your picture
- Click OK to save
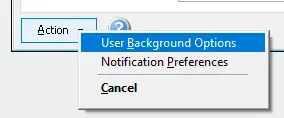
Pegasus Opera 3 Tip 7: User Backgrounds
- System > Preferences > Action > User Background Options
- Select the company and browse/select your desired picture
- Click OK to save
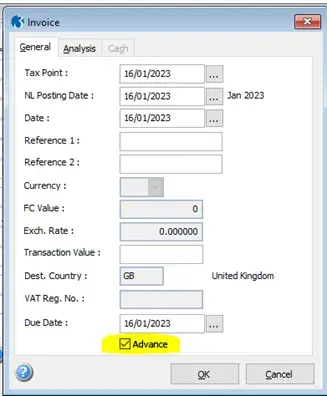
Pegasus Opera 3 Tip 8: Advanced Posting
This determines whether you can allocate a new transaction to a future period. Advanced postings will be excluded from the current periods account balance and only be included in the current balance after you run period end.
- To switch on go to Sales > Utilities > Set options.
- Tick ‘Allow Advanced Postings’
- When posting transactions there will be an option to tick ‘Advanced’
Note – after period end this option is cleared.
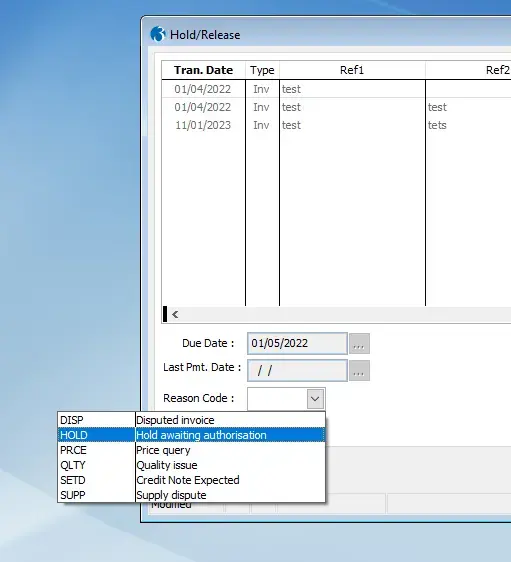
Pegasus Opera 3 Tip 9: Disputing Invoices
To mark an invoice as disputed:
- Purchase Processing > Supplier > Action > Hold/Rel
- Highlight the Invoice – Action > Hold > Select the reason
Note – reasons are set up and maintained via Purchase > Maintenance > Reasons.